
After purchasing a WordPress theme from ThemeForest, the first step is download and install it on your website. This tutorial will show you how to do that in an easy way.
Download the WordPress theme from ThemeForest
Right after you completed the purchasing a WordPress theme on ThemForest, a download button will appear. Just click on that button to download the theme.

In case you want to download the theme again or somehow you closed the browser tab, you need log into your account on ThemeForest. Then move your mouse over your username on the top right and click Downloads
Then you will be redirected to your Downloads page. All your purchased items are listed here.
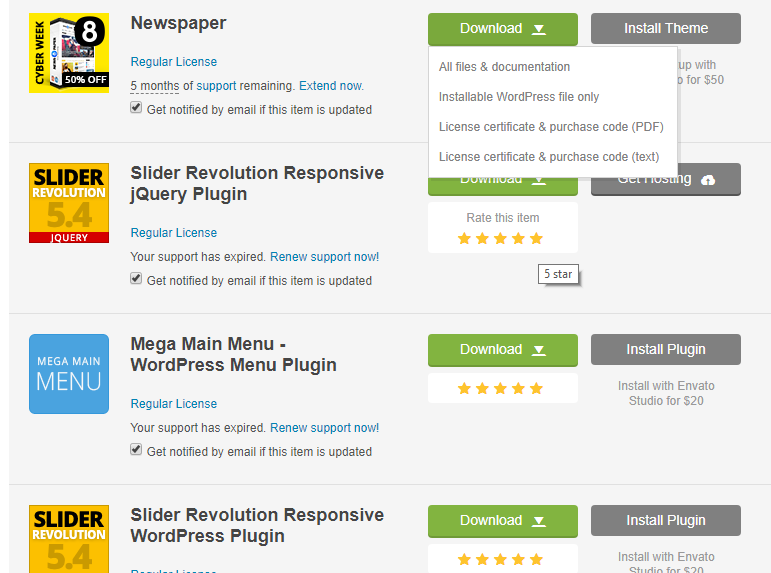
Each WordPress has a green button Download. Clicking on that button shows a dropdown. Then select All files & documentation to download the WordPress theme and everything goes with it that you might need to set up the theme, such as required plugins, documentation.
Install a WordPress theme from ThemeForest

After you download the .zip package from ThemeForest, unzip it. You’ll see a file .zip, which is the main theme file that needs to be uploaded and installed. The filename is usually the theme name, for example: if the theme is TRUESHOES, then the file name is trueshoes.zip, BAKERY – bakery.zip, etc. But sometimes, the file name is different but not too much and you can guess the file name from the theme name. Here at Nouthemes, we always name the .zip file the same as the theme name.
To install a WordPress theme from a .zip file, login to your WordPress dashboard and click on Appearance → Themes. Then click on the Add New button at the top.
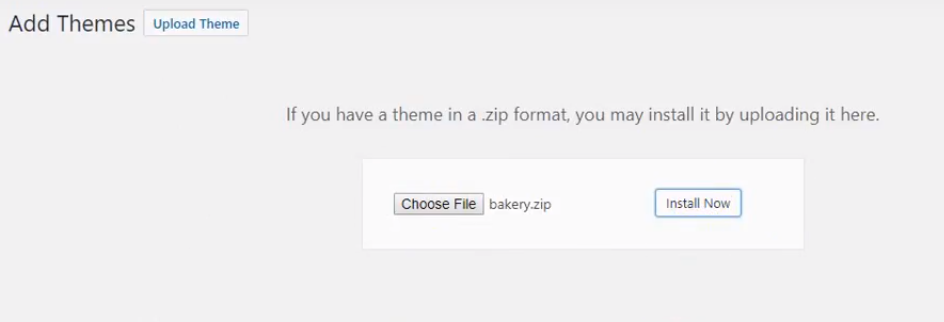
On the next screen, click on the Upload Theme button at the top. You will be prompted to choose the zip file that you downloaded earlier. Select the file and click Install Now.
Once your theme is installed, you will see a success message along with the link to activate and preview the theme. Just click Activate link to complete the installation of the theme.
Install required and recommended plugins (optional)
After installing the WordPress theme, you might see a notification at the top of the page that says the theme needs some plugins to function properly. These plugins add more features to the theme such as portfolio, contact form, shop, which makes your website more powerful.
Please note that not all themes have this notification. But most of the themes on ThemeForest have that. So do our themes.
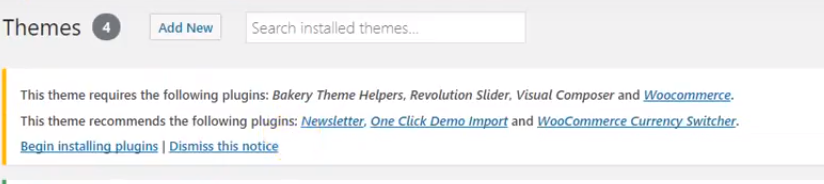
If you see the notification, you will know that the theme requires and recommends some plugins. The required plugins must be installed to make the theme work as expected while the recommended are just optional as the website still work without them, but it’s still better to have them installed.

To install plugins, click on the link Begin installing plugins as shown in the screenshot above. You’ll be redirected to a page where all needed plugins are listed. Just click on Install below the plugins’ names or select all of them (recommended) and choose Install from the drop-down and click Apply.
Some plugins are included directly in the themes and some are hosted on wordpress.org which takes a while to download.
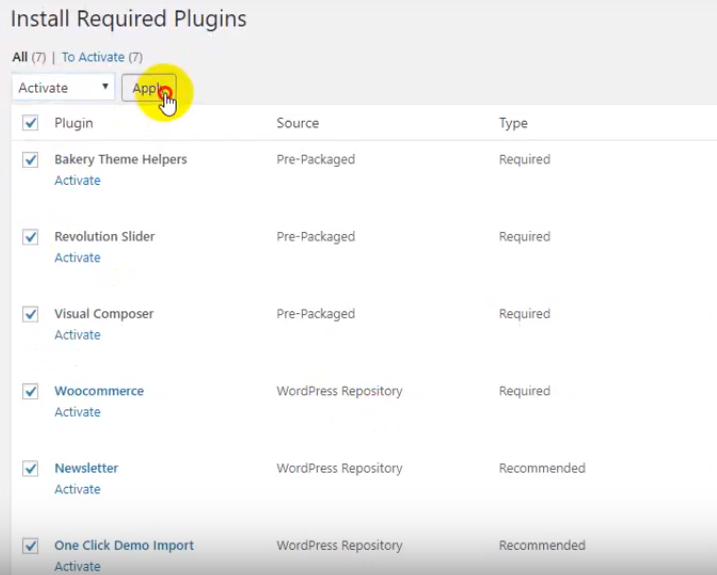
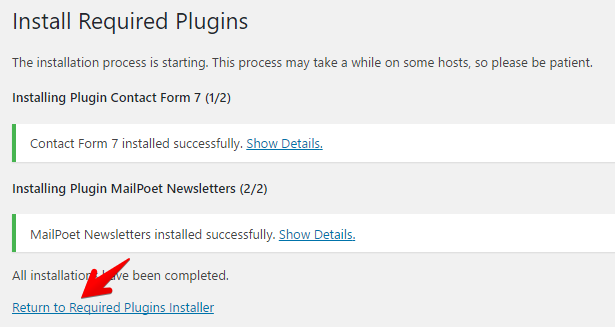
After installing, click the link Return to Required Plugins Installer. You’ll be redirected to a page where all installed plugins are listed. It’s required to activate them. So select them all and choose Activate from the drop-down and click Apply:
That’s all. Now you have your theme and plugins installed. It’s time to discover theme features and setup the theme. For the specific theme, please follow the corresponding documentation of the theme.
